Building a reactive calculator with Keera Hails (1/5)
In this hands-on tutorial, we are going to build a reactive calculator app in Haskell. The code we will write will work on your browser using GHCJS, but you can easily change it to work on desktop if you want: all GUI code will be located in exactly one module with just over 50 lines of code.
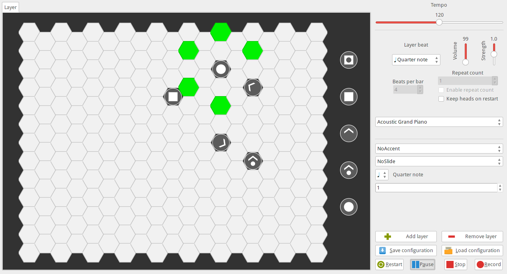
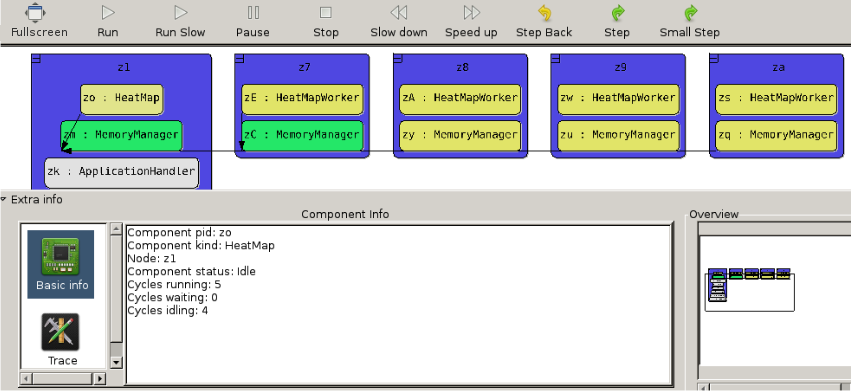
A frequent question when building an application is which framework to use. For reactive apps with little or no animations, we recommend Keera Hails: it’s very simple, natively cross-platform, easily extensible, and has been used in many projects, both commercial and open-source (Fig. 1).

Gale IDE: A Graphical Adventure Engine & Development environment that generates cross-platform graphic adventure games. 
The Arpeggigon: A Functional Reactive Musical Automaton (link). Credits: Guerric Chupin. Reproduced with permission. 
SOOSiM: A Supercomputer OS simulator built by the University of Twente & HLRS.
The key idea behind Keera Hails is that of Reactive Values and Relations. A reactive value is just a value that can change over the execution of the application. The term is not very different from that of a piece-wise signal or an event stream in FRP, but reactive values are push-based, discrete, asynchronous, and may be connected to multiple other RVs. You can find many more details in this paper and our public github repo.
A Keera Hails application is normally structured in three parts: a view, a model, and a set of reactive rules. The view and the model publish reactive values. The reactive rules connect reactive values, making sure that each part is updated when the other changes.
The syntax and API of Hails has been chosen to be really simple to use. If
x is a reactive value containing the string in a text box, and
y is a reactive value representing the user name in the application
model, the rule x =:= y will keep both in sync for the remainder of
the execution of a program.
Our goal with this post is to make it really simple to get started, so we are going to go straight for the solution. If you follow the steps in this tutorial, and the end you’ll have a web app running a working calculator in your browser (Fig. 2).

Figure 2: Reactive calculator app written in Haskell using Keera Hails, running in a browser. The whole application is the same regardless of the platform, except for one module that initializes and abstracts the view.
Hello GHCJS
The first thing that you need is a working setup. You’ll need a working version of GHCJS, which, on Linux, you can install one using HVR’s PPA. You will also want a recent version of Cabal (at least 2.4). Ensure that GHCJS is in your path by adding it to the PATH environment variable (adapt it to refer to the GHCJS version you have):
export PATH=/opt/ghcjs/8.4.0.1/bin:$PATH
Just to keep everything isolated, we will be installing everything in a sandbox. The question of which variant of cabal/stack to use, and which installation method, is beyond the scope of this article. You are free to adapt the example to use the v2 or new cabal interface, stack, or any other tool.
First, create a directory for this working example:
$ cd $HOME
$ mkdir -p tmp/keera-hails-example
$ cd tmp/keera-hails-example
$ cabal sandbox init
Next, we are going to create a simple cabal file for our example. It’ll just make it much easier to keep track of the options and dependencies we need. Copy the following text in a file keera-hails-example.cabal:
You may of course use a different license. Be sure to create a file for the license with the name LICENSE, which will be required during installation.
Finally, create a directory src/ for the code (the command is mkdir src/), and write the following code in the file src/Main.hs:
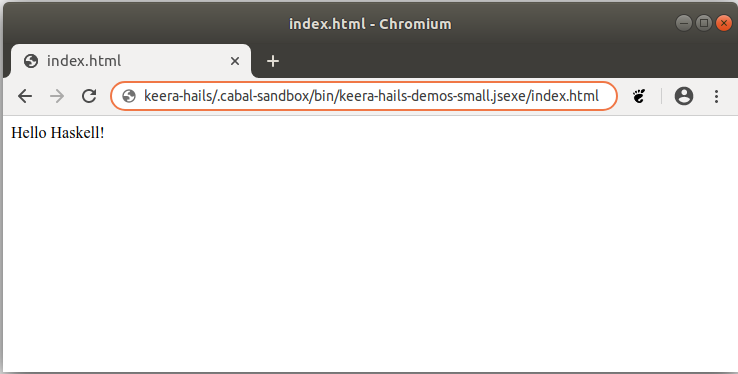
If all went well, you should be able to compile and see this app in your browser (Fig. 3):
$ cabal install --ghcjs
$ xdg-open $PWD/.cabal-sandbox/bin/keera-hails-demos-small.jsexe/index.html
xdg-open is a linux tool that will open the file with the default application, but you can use any browser and navigate to that path. Do not close the browser tab showing the new page we have created: we will be re-instaling our app and refreshing the page to see the changes.

Figure 3: Screenshot of our small application running in the browser. GHCJS compiles Haskell to Javascript and runs your main when the page loads.
Hello Reactive Values
Before we move on to creating an actual application, let’s build a basic example to understand how to use Reactive Values and Relations to interact with web elements. We will do so by creating a web with two reactive input text boxes connected to one another. Modify the Main.hs file to read as follows:
This code creates two HTML input text boxes, adds them to the body of the HTML page, and makes the text of the first pass to the second when it changes. The function Hails.MVC.View.HTML.inputTextReactive creates a reactive value that projects the text of an input text box.
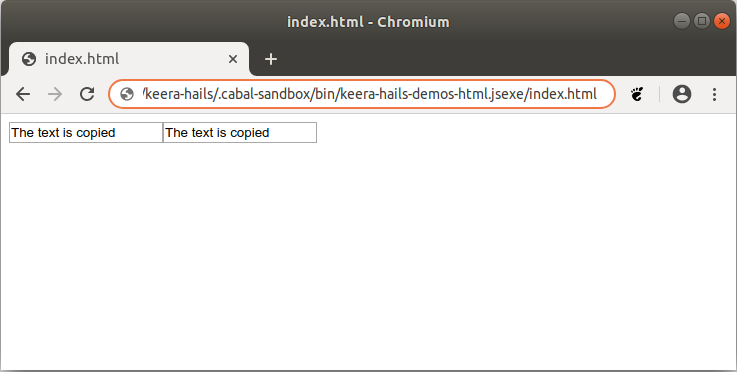
If you compile this new version of Main.hs (with cabal install –ghcjs) and refresh the page in the browser, you should now see two text boxes, side by side. Writing text in the first box will automatically propagate it to the second box (Fig. 4).

Figure 4: A screenshot of a Keera Hails web app with two connected reactive values. Changes to the left text box will automatically propagate to the right box.
You may try a few things before you move on to the next post:
-
There is an alternative relation building function, (=:=), that connects two RVs bidirectionally. Try using it instead and see the effect it has on the behavior of the text boxes.
-
Create and add a third text box, input3, and connect it to input2 with another rule input2 =:> input3. See what the effect is now.
-
Apply a
String -> Stringfunction (e.g., reverse) to input2 in the last rule just introduced, with the combinator (<^>). -
You cannot apply the function reverse to input3 on the right-hand side of (
=:>), or to RVs in a bidirectional rule using (=:=). Can you think of why? Take a look at liftW and liftRW in the hails library, and see if you can make it work.
In the next posts in this series, we will see how to build a beautiful view for a calculator app, how to make the view elements reactive, and how to connect them to a thread-safe reactive model to implement our reactive app. You can continue with the next post in this series here.
